Making a Ministack
Back in October '05, I wrote an entry on Mac Mini expanders. These are basically USB/Firewire hubs and/or external hard drives. I finally reached the capacity of my internal 80GB hard drive and decided to buy a firewire drive.
Feeling I was suffering from a lack of ports, I opted for the Ministack which combines USB & Firewire hubs into the enclosure. I decided to buy the empty enclosure and add a hard drive myself in order to save about $40. Here is my story (honestly it will take me much longer to write this blog entry that it took to assemble the parts).
I ordered the Ministack from other world computing. I got the Ministack version 1, not version 2. I see little advantage to having ports on the side, the only difference I could see between v1 and v2. As I write this, they have dropped the price $5 since I bought it last week. I also picked out a 200GB drive from Newegg. Both enclosure and hard drive arrived on the same UPS truck.
 The Ministack is nicely designed, not to the A+ level of Apple products but much better than most PC products. I would give it an A-, for design and quality.
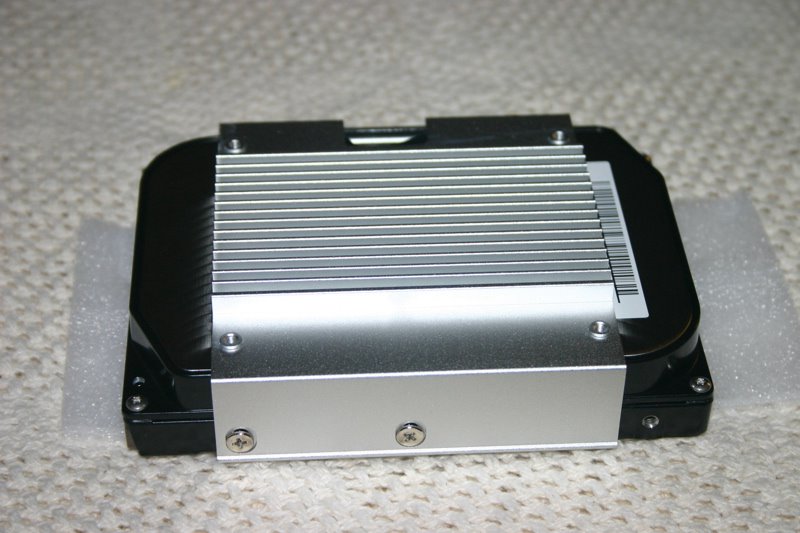
 The first thing to do was to to remove the aluminum mounting bracket/heat sink from the Ministack and mount the hard drive in it. This requires a very small philips head screwdriver, from my collection of marketing swag.
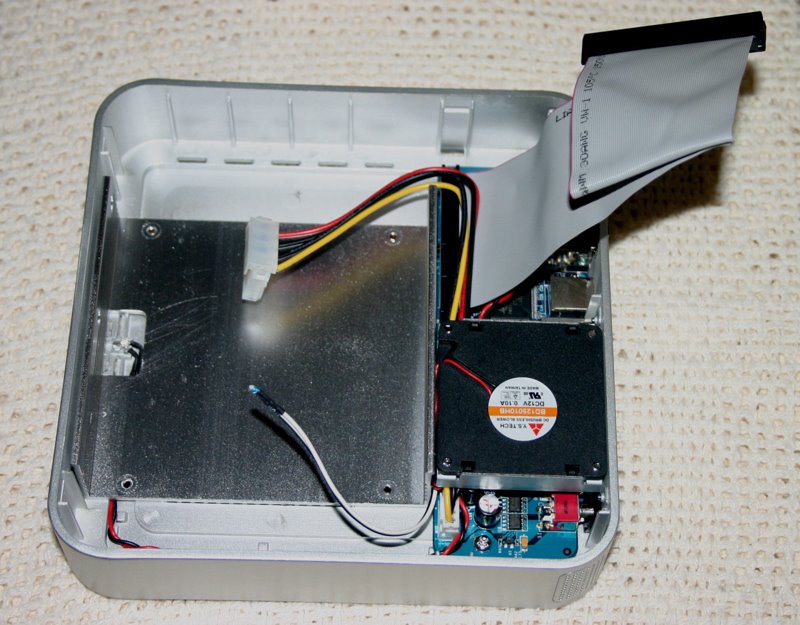
As you can see from the following two photos the tolerances are very small for fitting the drive in the enclosure. NewerTechnology warns that certain Seagate hard drives will not fit. (A bummer for me since I like Seagate hard drives.)

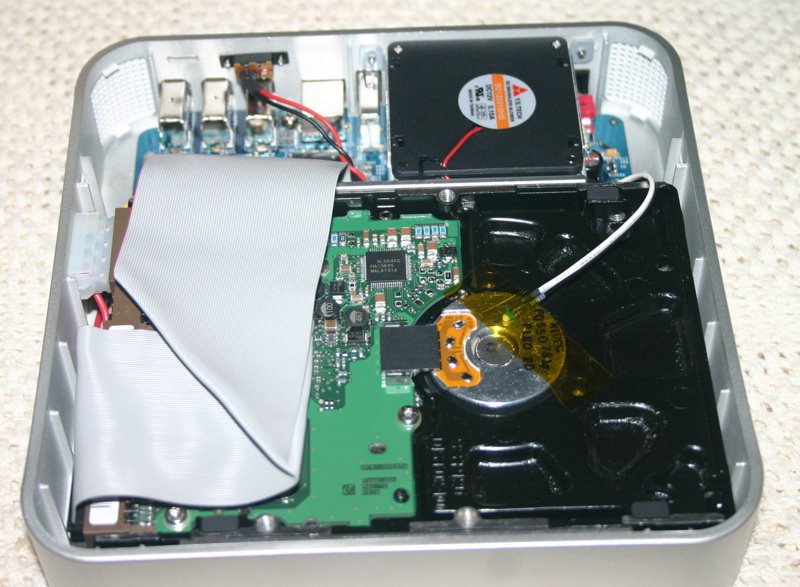
What is really tight is the power connector for the hard drive. I was afraid at first that I had found another drive that wouldn't fit. A few minutes of calm concentration and gentle movements and I got the drive properly positioned in the enclosure.
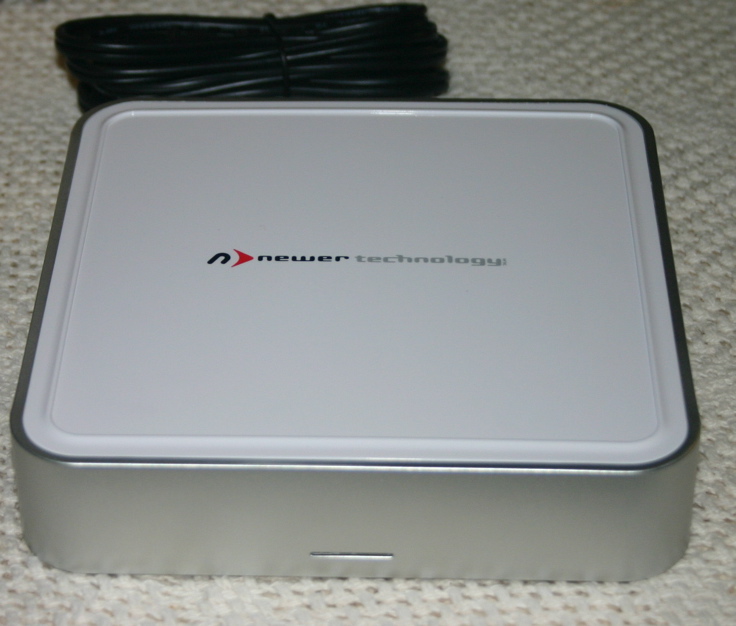
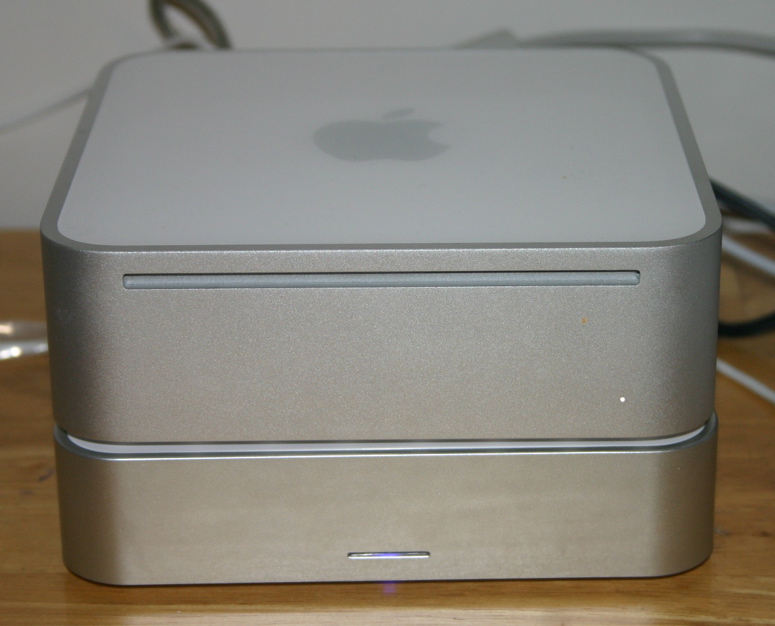
Once I had everything in place and screwed down, I snapped on the top. I would highly recommend you do not do that until you have tested that it works. I'm not sure I can get the top off without damaging the enclosure of the ministack. Luckily for me, I got every thing right the first time. About 15 minutes after glancing over the instructions (which need some editing) I had a finished Ministack enclosure with 200GB of disk space. The enclosure does look really good sitting under the Mac Mini, as you can see if the photo below.
Add March 25th: If you got to this page directly you should read the follow up review.
|
|
|
posted by PB, at 10:49 AM
PermLink
![]()
1 Comments:
I used a SAMSUNG SpinPoint P Series SP2014N 200GB drive. It is list as IDE "Ultra" ATA/133.
Parallel means standard IDE ATA interface. Unfortunately you can find better deals on SATA drives most of the time now.
By PB, at 11:30 PM
Post a Comment
<< Home